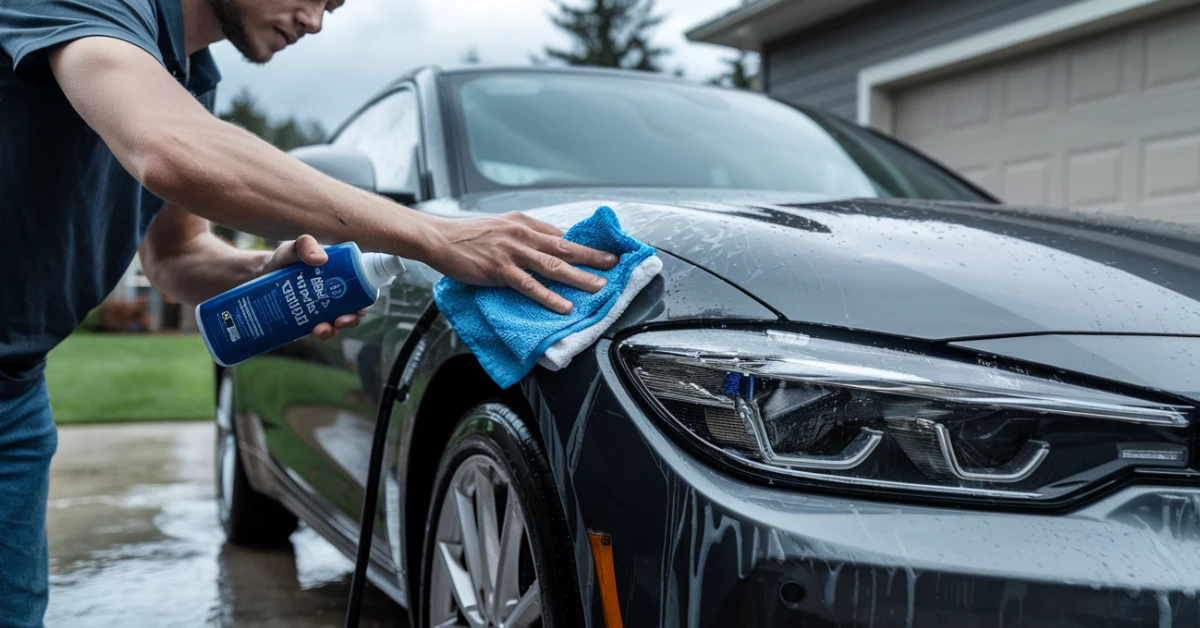
How to Wash a Car Without Water: Step-by-Step Guide for a Spotless Finish

Learning how to wash a car without water isn’t just a convenient alternative—it’s a game-changing skill that can save you time, water, and money while delivering professional-level results. Whether you’re stuck in an apartment with no driveway access, dealing with water restrictions, or simply want an eco-friendly cleaning method, waterless car washing offers a practical solution that doesn’t compromise on quality.
This comprehensive guide will walk you through the entire waterless car washing process, from selecting the right products to mastering professional techniques that prevent damage while achieving a showroom-worthy shine.
What Is a Waterless Car Wash and Why Use It?
Waterless car washing uses specially formulated spray-on cleaners containing advanced polymers and surfactants that encapsulate dirt particles, lifting them from your car’s surface without requiring traditional rinsing. These products work by creating a slippery barrier between contaminants and your paint, allowing safe removal with microfiber towels.
The benefits of waterless car washing are substantial. Most significantly, it can save up to 100 gallons of water per wash compared to traditional methods. This makes it incredibly convenient for apartment dwellers, garage users, or anyone without access to a water source. The eco-friendly nature extends beyond water conservation—many waterless products are biodegradable and eliminate runoff concerns.
However, waterless washing works best on lightly to moderately soiled vehicles. It’s not suitable for cars caked with heavy mud, salt, or construction debris. The process involves spraying sections of your car with waterless cleaner, allowing it to dwell and encapsulate dirt, then wiping clean with proper microfiber technique.
Unlike traditional washing that relies on water volume to flush away contaminants, waterless washing depends entirely on product chemistry and proper technique. This makes understanding the process crucial for avoiding car water spots and achieving professional results.
The typical waterless wash takes 30-45 minutes and requires minimal equipment—just quality products, microfiber towels, and proper technique. Many professional detailers use waterless methods for maintenance washes between traditional deep cleans.
Gather Your Waterless Car Wash Supplies
Success with waterless car washing starts with having the right supplies. Your essential toolkit should include a high-quality waterless wash spray—products from Chemical Guys waterless wash sprays are widely recommended for their effective polymer formulations that safely lift dirt without scratching.
Microfiber towels are your most critical tool. You’ll need at least 4-6 premium plush microfiber towels with a GSM (grams per square meter) rating of 300 or higher. These towels should be clean, lint-free, and dedicated solely to car washing. Consider having separate towels for different areas: paint surfaces, wheels, and glass. High-quality microfiber towels make the difference between a professional finish and potential paint damage.
Optional but highly beneficial supplies include a detailer spray for final buffing, a compressed air blower for removing loose debris, and a clay bar for removing embedded contaminants before your waterless wash. Best air blowers for car detailing can significantly improve your prep work by eliminating debris that might cause scratching.
For budget-conscious beginners, start with a reputable waterless wash spray ($15-25), 4-6 quality microfiber towels ($20-30 total), and a basic detailer spray ($10-15). Premium setups might include specialized glass cleaners, wheel-specific waterless products, and professional-grade towels, bringing total investment to $100-150.
Pro tip: Pre-wash your microfiber towels without fabric softener, which can reduce their effectiveness. Have clean towels ready before starting—you’ll switch towels frequently to avoid redistributing dirt across your paint.
Step 1: Prepare Your Car and Workspace
Proper preparation sets the foundation for a successful waterless wash. Park your car in a shaded area with the engine cool to the touch. Direct sunlight causes waterless products to dry too quickly, leaving residue and potentially causing streaking. Working on a hot surface is one of the most common mistakes that leads to poor results.
Use compressed air or an air blower to remove loose debris, leaves, and dirt from your car’s surface. This pre-cleaning step is crucial—any loose particles left on the surface can become abrasive when wiped with your towel. Pay special attention to door handles, trim pieces, and areas around the wheels where debris typically accumulates.
Clear your surrounding workspace to allow room for shaking out towels as they become dirty. You’ll need space to move around your vehicle comfortably and access to a clean surface for placing supplies. Having a small table or cart nearby for your products and clean towels improves efficiency.
The expected outcome of proper preparation is a workspace that prevents contamination and heat-related product issues. This foundation step prevents the common mistake of working too quickly and grinding particles into your paint.
Check that all windows are up and that any sensitive electronic components (like charging ports) are closed. While waterless products don’t require rinsing, overspray can still reach these areas.
Step 2: Spray Waterless Cleaner Section by Section
Divide your car into manageable sections—typically hood, roof, each door, rear panel, and bumpers. This section-by-section approach ensures the product doesn’t dry before you can wipe it off and allows you to maintain consistent quality across the entire vehicle.
Apply waterless cleaner generously to each section. Many beginners make the critical error of under-spraying, which leaves insufficient lubrication for safe dirt removal. The product should visibly coat the surface—you’ll see dirt beginning to darken and loosen as the polymers work.
Work from top to bottom to prevent the dripping of cleaned solution onto dirty areas below. Start with the roof, then move to the hood, upper door areas, and finally lower panels. This gravity-assisted approach ensures you’re not redistributing dirt and maintains the effectiveness of your cleaning solution.
Allow 15-30 seconds of dwell time for the waterless cleaner to encapsulate contaminants. You’ll often see the solution change appearance as it works—dirt particles become suspended in the product, making them safe to wipe away. Rushing this step by wiping too quickly can result in grinding dirt particles into your paint.
The expected outcome is dirt that’s loosened and encapsulated, ready for safe removal. Common mistakes include spraying too lightly (insufficient lubrication), working too large an area at once (product drying), or rushing the dwell time (ineffective dirt encapsulation).
For heavily soiled areas, apply a second coat of product rather than scrubbing harder. The chemistry should do the work—excessive pressure indicates insufficient product or inappropriate conditions for waterless washing.
Step 3: Wipe Off Dirt with Microfiber Towels
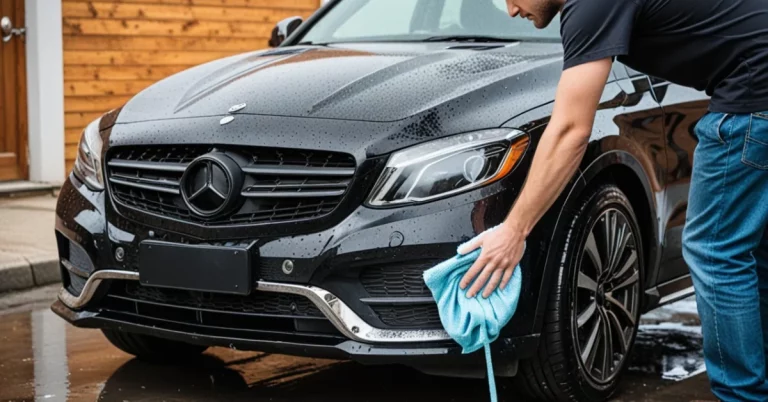
Your wiping technique determines whether you achieve a flawless finish or create micro-scratches in your paint. Use light pressure and straight-line motions rather than circular patterns. The straight-line technique ensures that any microscopic particles that might remain move in uniform directions rather than creating swirl patterns.
Fold your microfiber towel into quarters to create multiple clean surfaces. As each section becomes dirty, unfold to reveal a clean area. This towel management prevents the redistribution of dirt back onto clean paint. When all surfaces of a towel are used, switch to a completely clean towel.
Make multiple light passes rather than pressing hard to remove stubborn dirt. The waterless cleaner should have loosened contaminants enough that minimal pressure is required. If you encounter resistance, apply more product rather than increasing pressure. Heavy pressure indicates inadequate lubrication or contamination, better suited for traditional washing methods.
Work systematically across each section, overlapping your passes slightly to ensure complete coverage. The expected outcome is a streak-free, glossy surface with no visible dirt or waterless product residue. You should see the paint’s natural shine emerging as you work.
Common mistakes include circular wiping motions (causing swirl marks), using dirty towel sections (redistributing dirt), and applying excessive pressure (grinding particles into paint). Pay attention to towel condition—switch to clean towels frequently rather than trying to stretch their usefulness.
For optimal results, maintain at least 4-6 towels in rotation: fresh towels for initial dirt removal, slightly used ones for final wiping, and dedicated towels for wheels and non-paint surfaces.
Step 4: Buff and Detail for Shine
After removing dirt with your waterless cleaner, enhance the finish with a detailer spray and proper buffing technique. This step adds protection, deepens shine, and creates the hydrophobic properties that help repel water and dirt between washes.
Apply detailer spray lightly across each section you’ve cleaned. Use a clean, dry microfiber towel to buff the surface using straight-line motions with minimal pressure. This process removes any remaining waterless product residue while laying down protective polymers that enhance gloss and provide UV protection.
The buffing process should reveal your paint’s natural depth and clarity. You’ll notice improved reflection and a slick feel to the surface—indicators of proper polymer laydown. Focus extra attention on horizontal surfaces like the hood and roof, which receive the most environmental exposure.
Don’t skip this step, as it’s often what separates amateur results from professional-quality finishes. The expected outcome is enhanced protection, improved water beading, and a deep, glossy appearance that rivals traditional wash and wax results.
Pay special attention to trim pieces, door handles, and other detailed areas during buffing. These often-overlooked spots contribute significantly to the overall appearance. Use a smaller, dedicated towel for intricate areas where your main buffing towel might be unwieldy.
Common mistakes include skipping the detailer step entirely (leaving residue and missing protection benefits), using too much product (creating streaks), or buffing with a contaminated towel (dulling the finish).
Step 5: Clean Wheels, Tires, and Glass
Wheels, tires, and glass require separate attention and dedicated towels to prevent cross-contamination. Never use towels that have touched brake dust or tire cleaning products on your car’s paint—the contamination can cause permanent damage.
For wheels, use a wheel-specific waterless cleaner or your regular waterless product applied generously. Wheels accumulate brake dust, road grime, and other contaminants that are more abrasive than typical paint dirt. Work one wheel at a time, using dedicated towels that won’t be used elsewhere on your vehicle.
Clean tires with appropriate tire cleaning products, focusing on removing road grime and old tire shine residue. Many waterless wash products aren’t formulated for rubber surfaces, so dedicated tire cleaners often work better for this application.
Glass cleaning requires a streak-free technique and often benefits from glass-specific waterless cleaners. Use straight-line motions and flip your towel frequently to clean surfaces. For best results, clean the glass last to prevent overspray from other steps from affecting your window clarity. If you’re dealing with existing spots, check out our guide on how to remove water spots from car windows.
The expected outcome is uniformly clean wheels without brake dust, properly cleaned tires ready for dressing, and crystal-clear glass without streaking. Common mistakes include using paint towels on wheels (contaminating them with brake dust) and circular motions on glass (creating visible streaking patterns).
Keep separate towels clearly designated for non-paint surfaces. Many detailers use different colored towels to prevent accidental cross-contamination between paint, wheels, and glass cleaning tasks.
Pro Tips and Common Mistakes to Avoid
Always test new waterless products on an inconspicuous area first—typically the lower rear quarter panel. This test reveals how the product interacts with your specific paint and clear coat, preventing potential issues across your entire vehicle.
Waterless washing works best as a weekly maintenance routine between traditional deep cleans. If your car hasn’t been washed in over two weeks or has been exposed to construction dust, salt, or heavy road grime, consider a traditional wash instead. Understanding the science behind car cleaning water quality helps you appreciate why waterless methods avoid many water-related issues.
Temperature matters significantly. Avoid waterless washing in direct sunlight or when surface temperatures exceed 80°F. Likewise, avoid washing in freezing conditions where products may not work effectively. Early morning or evening sessions typically provide ideal conditions.
Environmental benefits extend beyond water conservation. According to EPA water usage guidelines, traditional car washing can use 80-140 gallons per session, with runoff carrying soaps and contaminants into storm drains. Waterless washing eliminates both issues while often using biodegradable formulations.
Watch for signs that waterless washing isn’t appropriate: excessive dirt requiring heavy pressure, mud or sand deposits, or areas where white spots on car paint indicate mineral buildup better addressed through traditional methods.
Professional detailers on detailing forums consistently emphasize towel management as the most critical success factor. Invest in quality towels and replace them frequently during the process rather than trying to extend their use.
FAQ: Waterless Car Washing
Is waterless wash safe for matte paint?
Yes, but use products specifically designed for matte finishes. Traditional waterless washes may add gloss that’s inappropriate for matte paint. Always test in an inconspicuous area and use minimal pressure during application.
How often can I do waterless washing?
Weekly waterless washing is ideal for maintenance between monthly traditional deep cleans. More frequent washing is safe but may not be necessary unless your car is regularly exposed to light dust and road grime.
What are the best products for beginners?
Start with well-reviewed mainstream brands offering complete waterless wash systems. Chemical Guys, Meguiar’s, and Optimum offer beginner-friendly products with clear instructions and forgiving formulations.
Does it really save water compared to traditional methods?
Absolutely. Traditional home washing typically uses 80-140 gallons per session, while waterless washing uses zero water for the cleaning process. Even considering the water used in product manufacturing, the savings are substantial.
What if my car is very dirty?
Waterless washing isn’t suitable for heavily soiled vehicles. Pre-rinse with water or use traditional washing methods for cars with mud, sand, salt deposits, or construction dust. Waterless methods work best on light to moderate dirt levels.
For those transitioning from traditional methods, consider best water deionizers as an intermediate step that reduces water usage while maintaining some traditional washing benefits.
Final Thoughts and Next Steps
Mastering waterless car washing opens up convenient, eco-friendly vehicle maintenance that fits modern lifestyles. The combination of water conservation, convenience, and professional results makes it an invaluable skill for any car owner.
Integrate waterless washing into your routine as weekly maintenance between traditional monthly deep cleans. This approach keeps your car consistently clean while minimizing water usage and time investment. As you develop proficiency, you’ll find the process becomes faster and more intuitive.
Consider expanding your waterless care routine with complementary techniques like proper paint protection, wheel care, and interior maintenance. Understanding water pressure for car wash applications helps you make informed decisions about when to use waterless versus traditional methods.
The key to long-term success is consistency, proper technique, and using quality products. Start with the basics, master the fundamental techniques, and gradually expand your skills and product range as you gain experience and confidence in waterless car care.